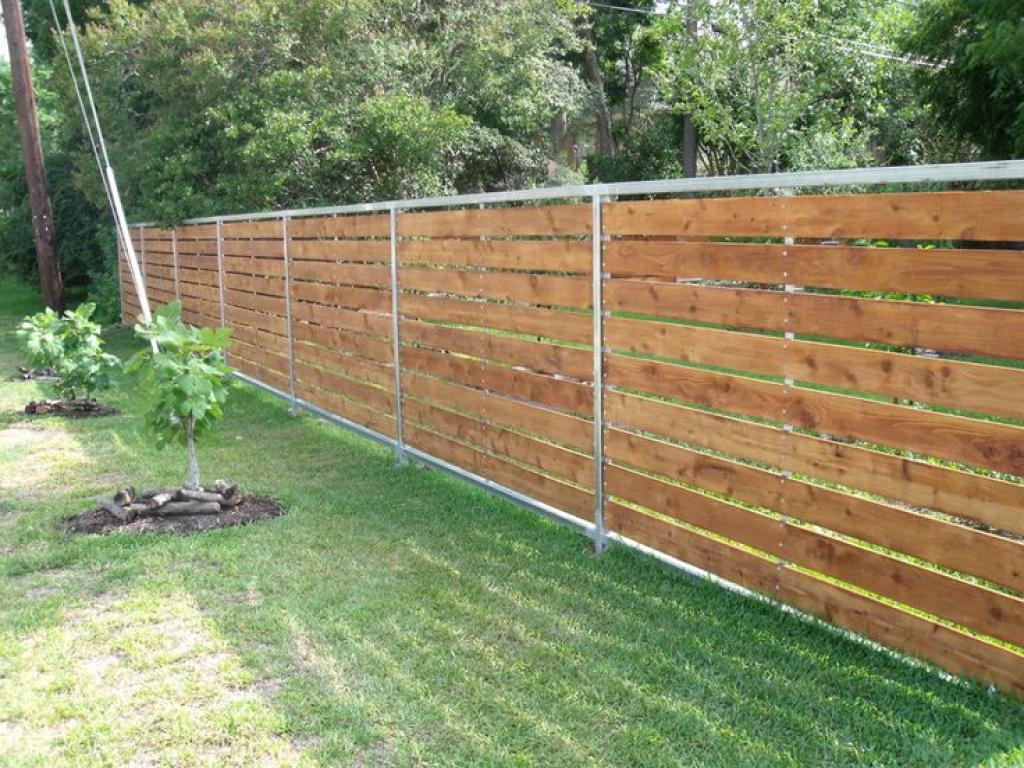
How to Replace Wood Fence Panels in 5 Steps
April 12, 2018
Depending on the number of fences Tuscaloosa you need to replace, you will not have to spend more than a few hours on the job, especially if you are doing it alone. If you get some help, you will finish the project even faster.
For this project, you will need the following tools:
-Tape measure
-1 ½ inch outdoor screws
-Skill saw
-Hammer
-Screwdriver
-Wonder bar
Replacement wood panels
If your fences Tuscaloosa panel is damaged, it looks bad. If you have kids playing around the compound, a damaged panel will be an accident waiting to happen.
This is why it is important to have the fence panels repaired as soon as possible by following the 5 steps below:
Remove Damaged Panels
You must remove the damaged panels first. Unscrew them out of position. In case yours are nailed into position, get a wonder bar and pry out the nails. To expose the gap between the beam and the panel, hammer the hind side of the panels, and then fix the wonder bar and force the damaged panel out.
Measure the Replacement Piece
You need accurate measurements for the wooden panels. With the tape measure, ensure the replacement piece is the same size as the ones being replaced. If you need to, trim the panels to size with the skill saw. The good thing is that most of these panels are usually available with their corners trimmed at 45 degrees.
Position the Replacement Panels
Measure the distance between the fence panels before you start mounting them. Prepare two pieces of wood measuring the same distance as between the panels. These will act as your guides. Hold the replacement panel against the beam and then put the guides on both sides, so that you can get the right position of the panels you will install. Mark this position on either side of the fence with a pencil.
Drill Pilot Holes
Hold the panel to the beams using nails with two screws. Make sure you have four fastening joints. With the panel vertically held against the beam, hold a small wood length on top of the panels. At the same time, factor in the horizontal position of the pencil marks that you made earlier. While in position, drill four pilot holes with your drill bit and screwdriver. Ensure you also drill into the beams.
Mount the Panel
Now that the pilot holes that will be used for the Tuscaloosa fences panels are drilled and you have already figured out the horizontal and vertical position, preset all the nails or screws into the panel. Then insert the panels in their final position. The tip of the nails and screws should also fit into the holes you made on the beams.
Starting with the top nails or screws, fix them halfway into position, and repeat the same for the ones at the bottom. Check if you have set them properly.
This is all you need to do to replace your wood fence panels. You can follow these steps for all panels that need replacement. In case your old fence panels were painted or stained, do the same thing to the new panels before you install them.